Each new customer added to ShipHero requires configuration. Follow the steps below when adding a new customer to your 3PL account.
Step 1: Add the 3PL Client
See our article on How to Add a New 3PL Client. You have the option of either adding the 3PL client yourself or inviting the customer to self-signup.
Whichever option is used, you have the same ability to manage 3PL customer settings according to your needs.
Step 2: Choose Client Account Settings
Next, you will need to choose settings for the new 3PL client. See our article on How to Manage 3PL Client Account Settings.
Connect the customer’s store to ShipHero from their account. Download all products and orders.

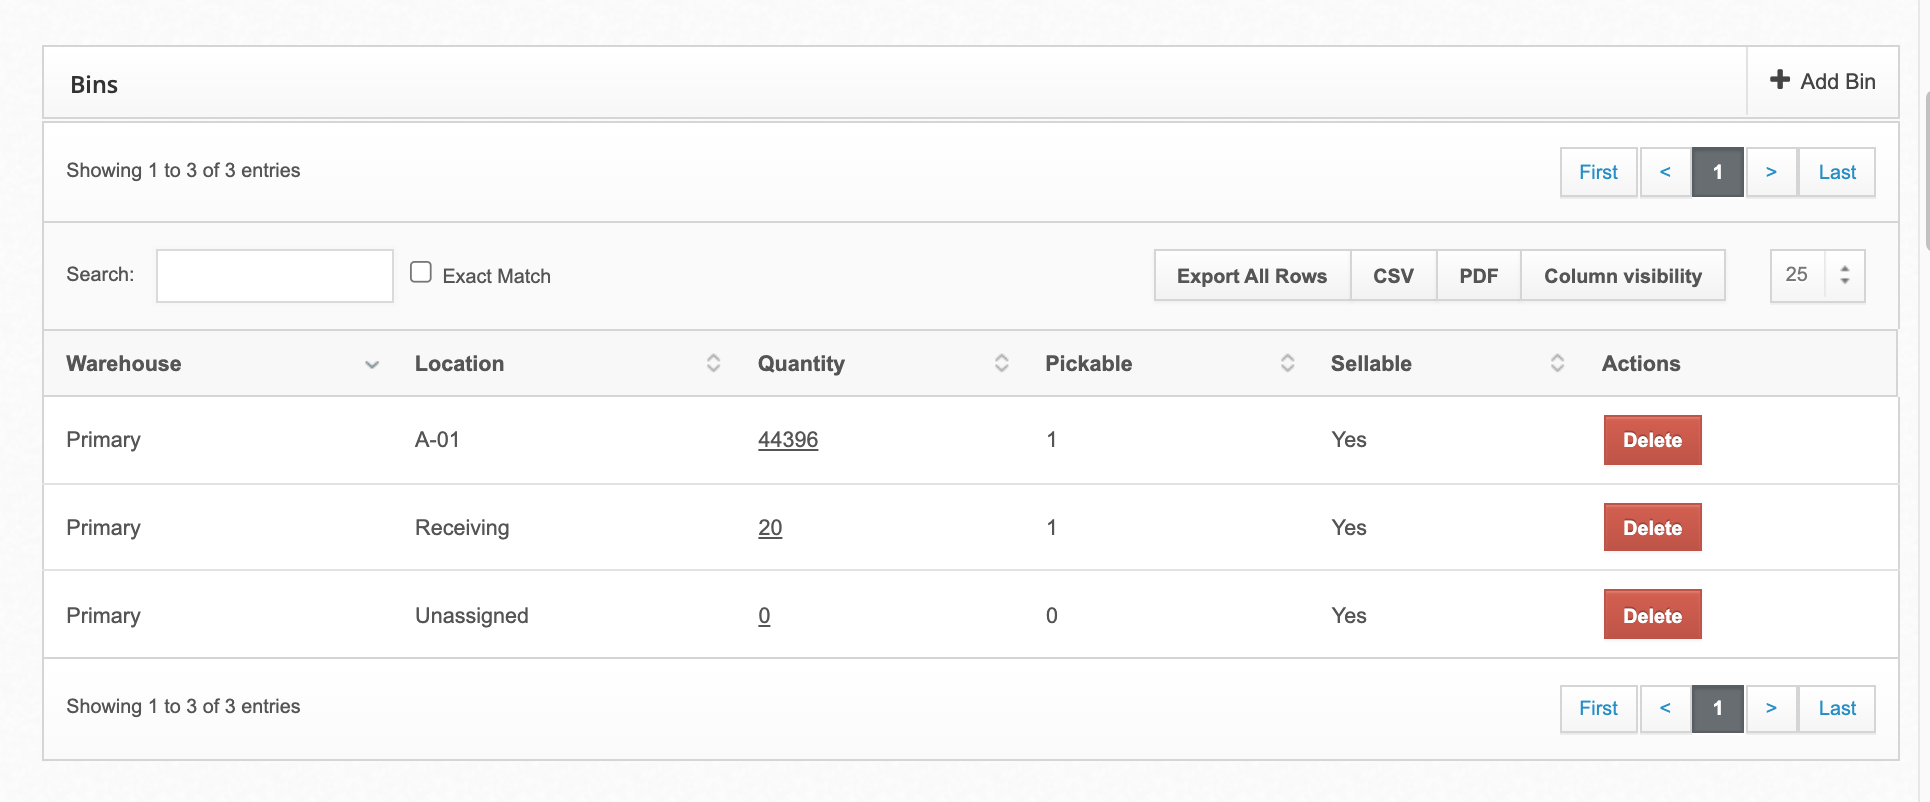
Add products to bin locations (if you are a dynamic slotting account).

Step 3: Automate Client Shipping and Orders
Open the ShipHero Dashboard and navigate to the Shipping Options page. Here you can map the customer’s shipping methods.

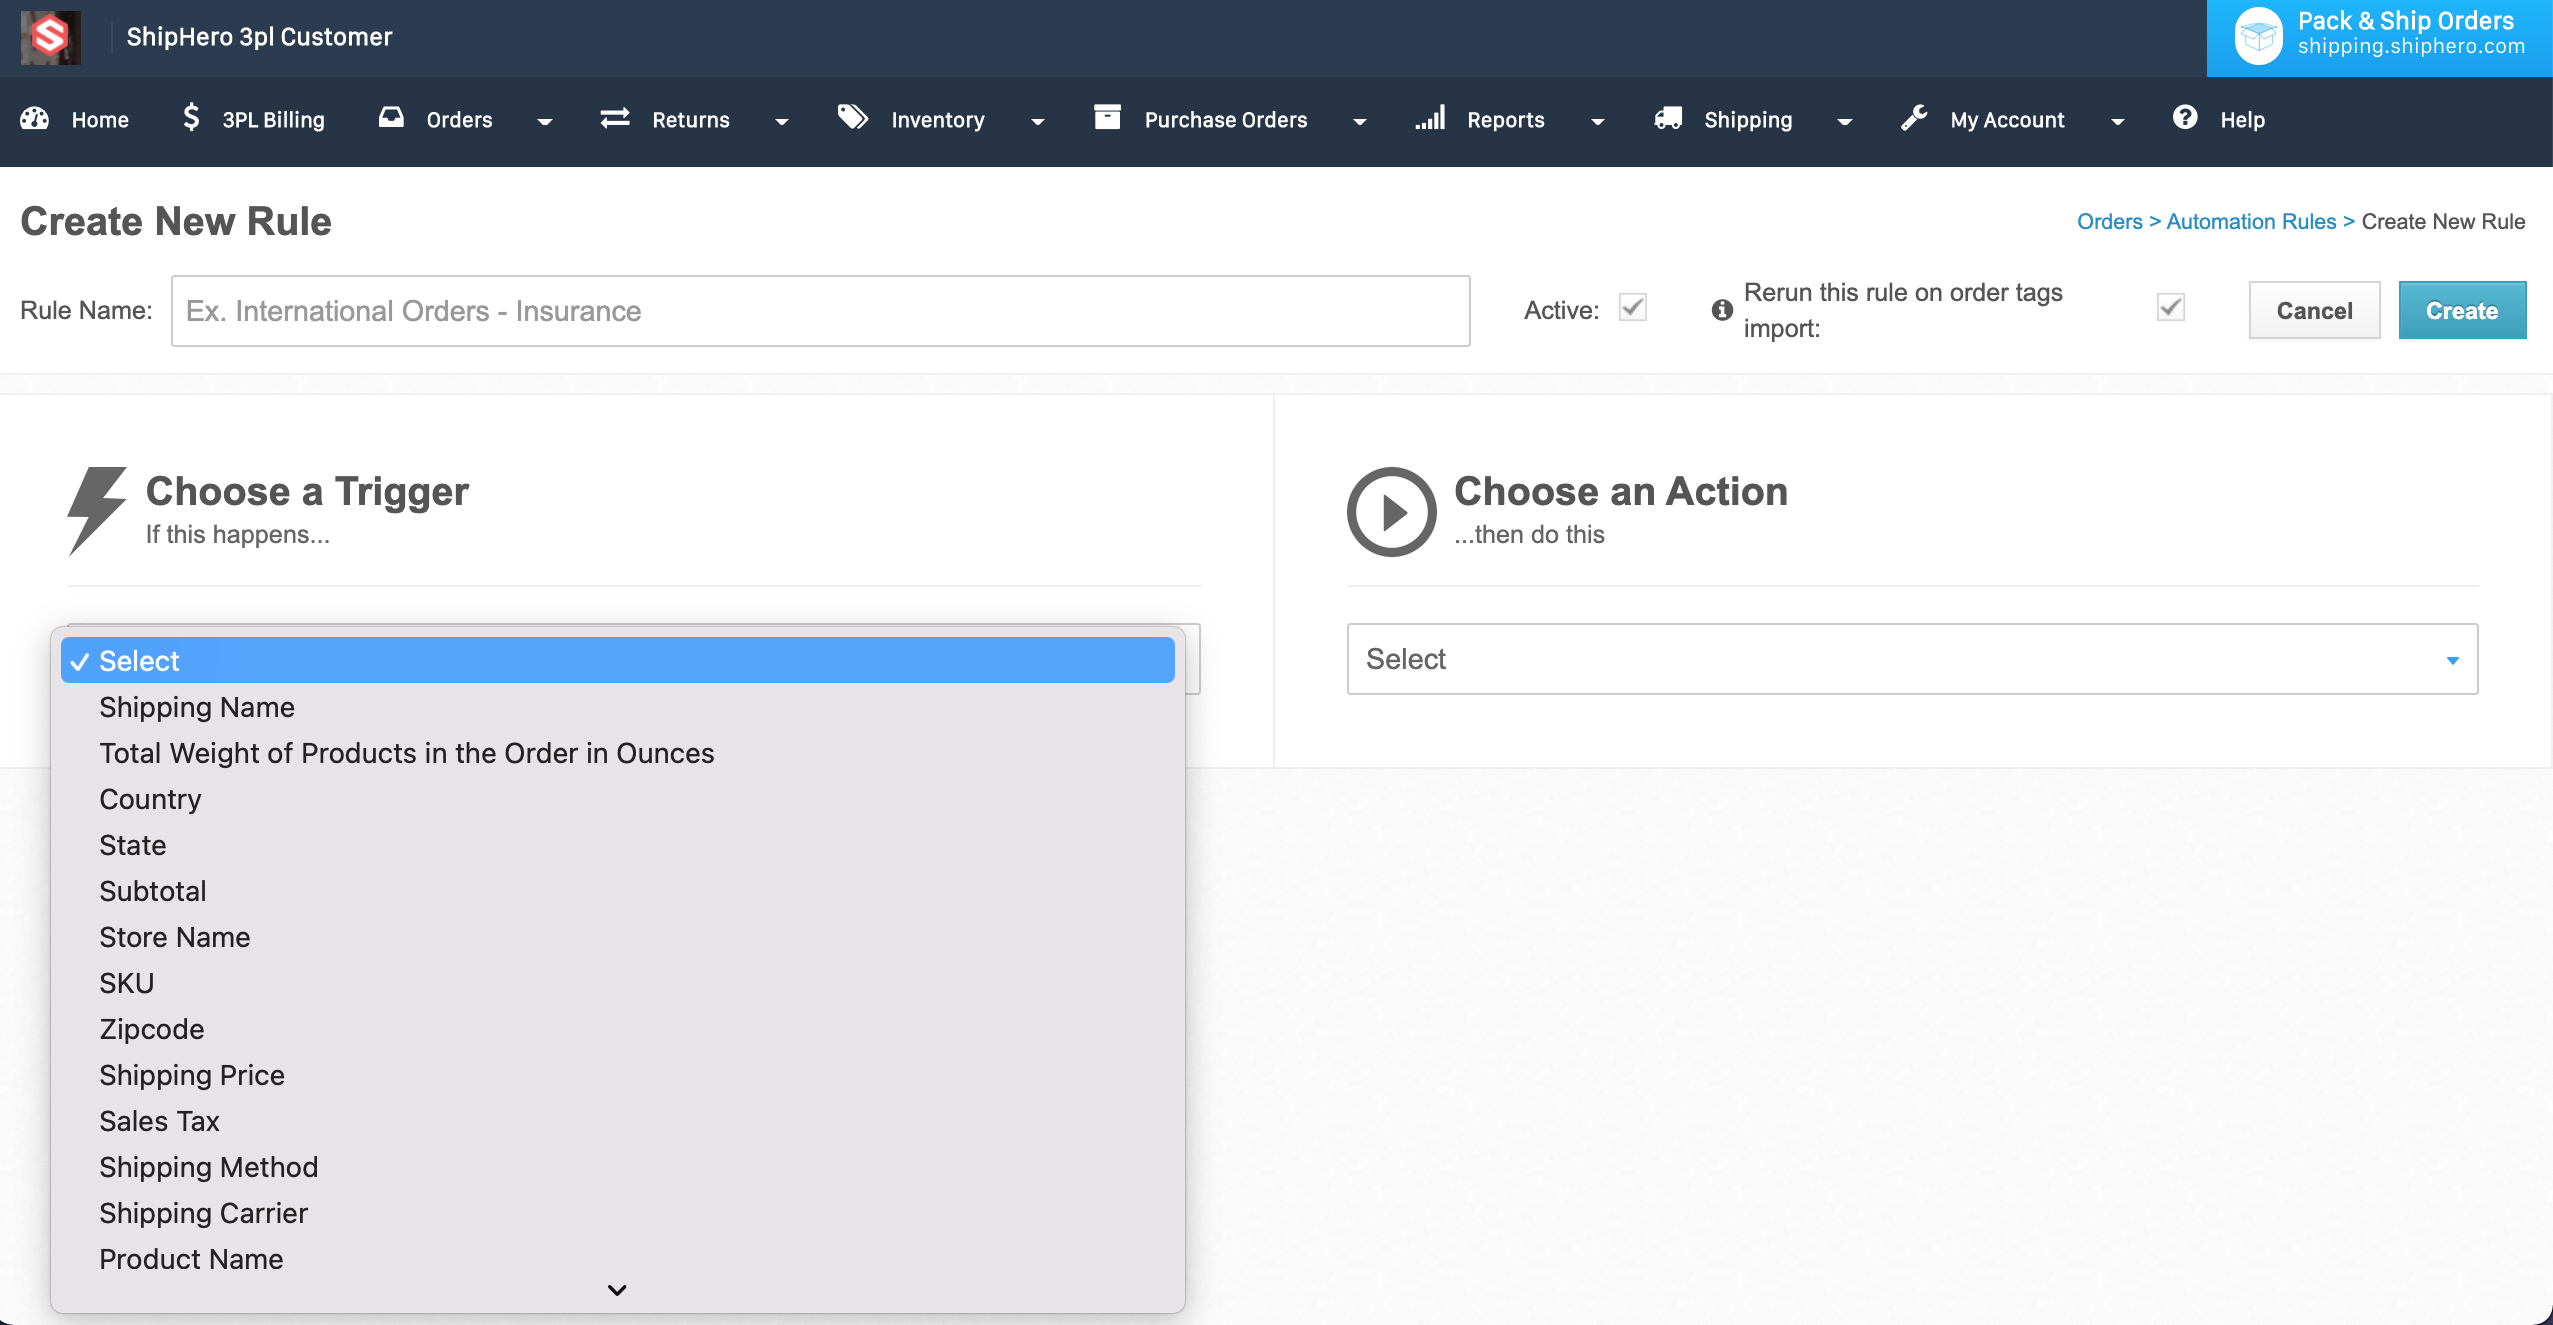
Use the Automation Rules page to create automation rules (from the client account only).

Step 4: Billing Profile Setup
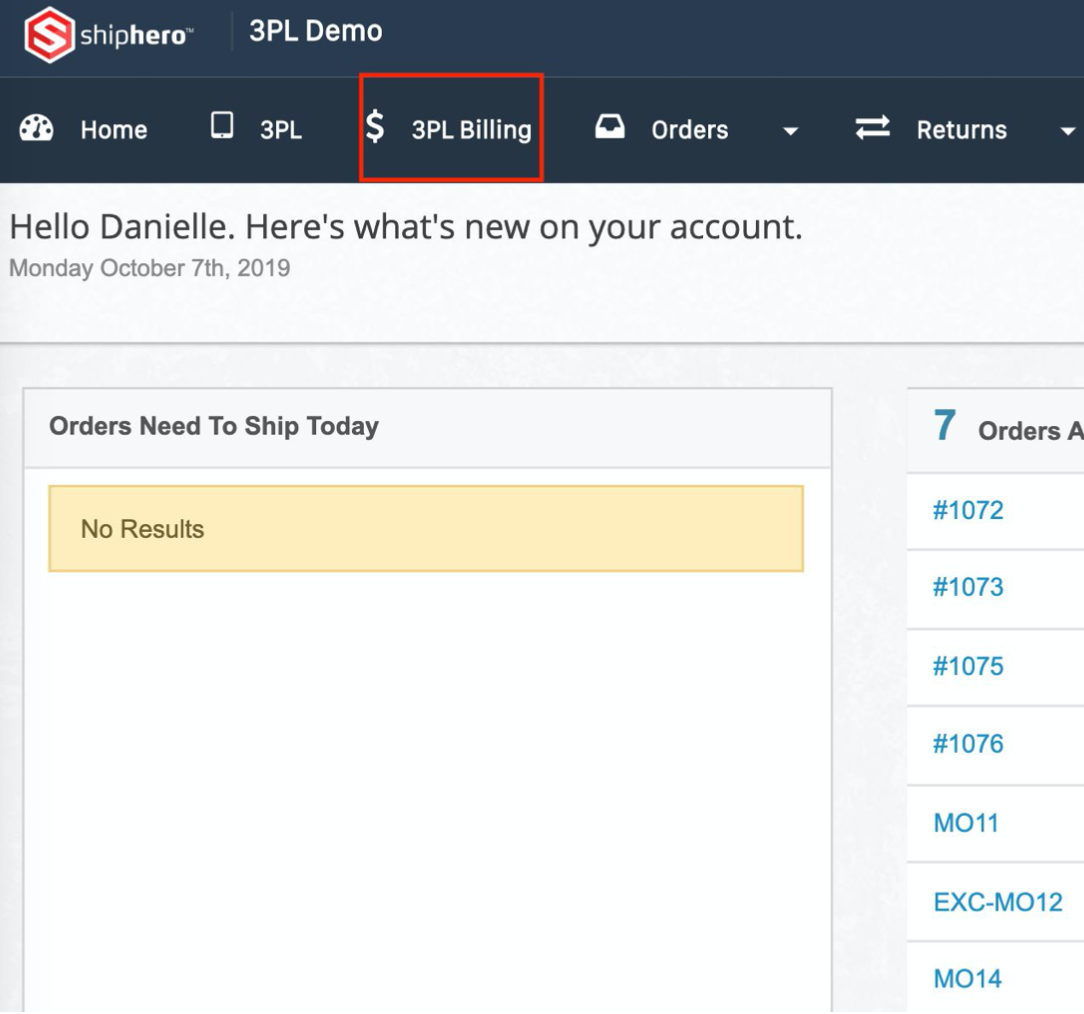
Configure the customer's billing profile on your 3PL. For detailed information, see our article on How to Create a 3PL Client Billing Profile.
You can create a new billing profile at https://3pl.shiphero.com/threepl.
