Follow the steps in this article to add a warehouse to your 3PL account.
Step 1: Add a New Warehouse to the 3PL
- Navigate to app.shiphero.com > My Account > Warehouses.
- Select Add A Warehouse on the top right side of the page.
- Set the Profile to Default and Warehouse to Create a new Warehouse.
- Name your warehouse.
- Select Continue and complete the details for the new warehouse.
- When you are finished, select Save Warehouse at the bottom right.
Step 2: Engage ShipHero Support
Engage ShipHero Support to ensure that your account is properly set up for multiple warehouses on the backend and that multi-warehouse allocation rules are enabled for the new warehouse.
Step 3: Add the New Warehouse to Client Profiles
Note: Clients must have a 3PL Billing Profile to be connected to a warehouse.
- Navigate to https://3pl.shiphero.com/threepl > Customers.
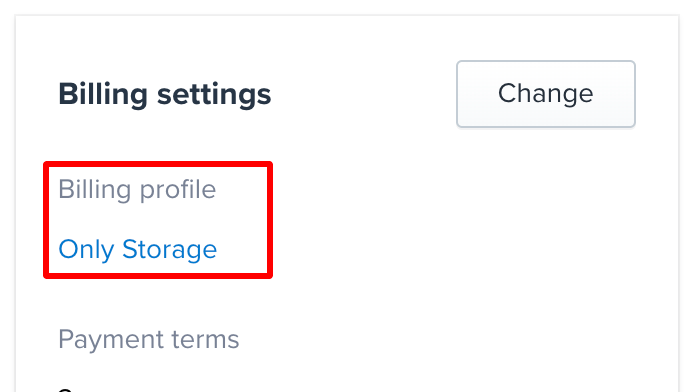
- Select a client, and ensure that they have a Billing Profile under their Billing Settings.

- Add the new Warehouse under the Warehouses section on the top right.

Step 4: Create Warehouse Allocation Rules and Conditions
- Navigate to https://mwa.shiphero.com/multi-warehouse-allocation to assign warehouse priorities.
- Create warehouse allocation rules and conditions.
Step 5: Add Inventory to the New Warehouse
If inventory is not yet at the warehouse:
- Upload SKUs to the new warehouse using the Bulk Edit CSV.
- Create a Purchase Order for products being shipped to the new warehouse or use a Transfer Order between existing warehouses.
If inventory is already at the warehouse:
- Upload inventory in ShipHero using the Inventory Upload CSV process.